
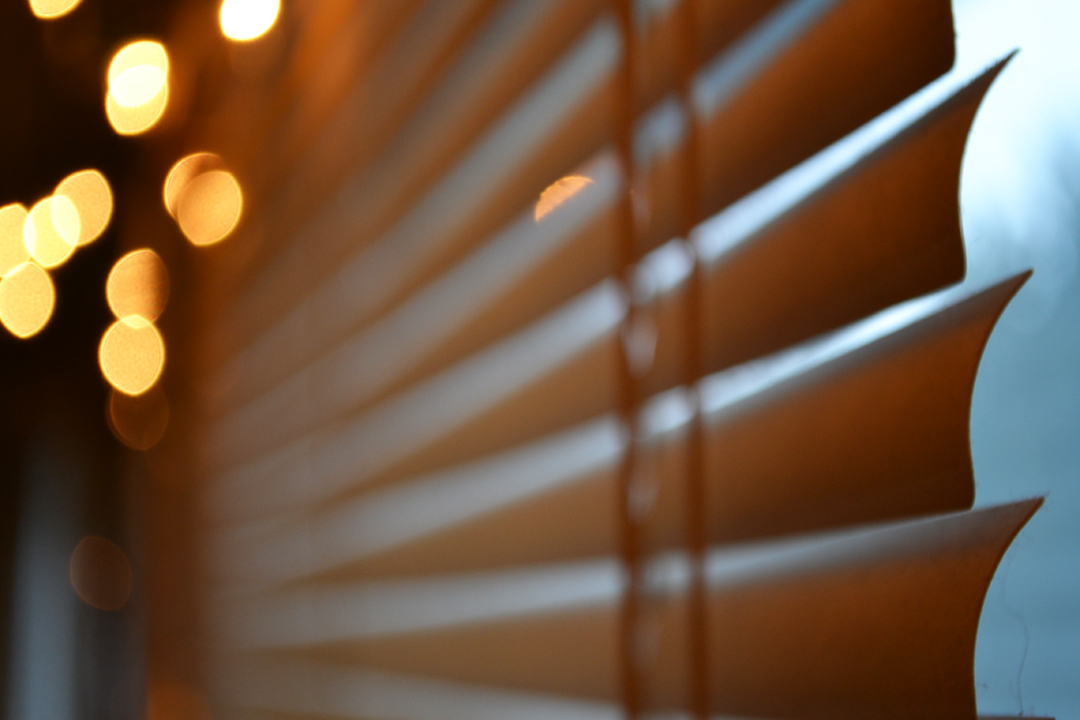
Depth (first three photos): The third of the photos was taken out of class. I angled the camera so I was shooting from the side of the blinds. This is the photo I chose to represent leading lines because the blinds lead you down the photo. There isn't much space in the photo, it's mostly filled up. To take this, I used a large depth of field, which is why most of the picture is blurred.
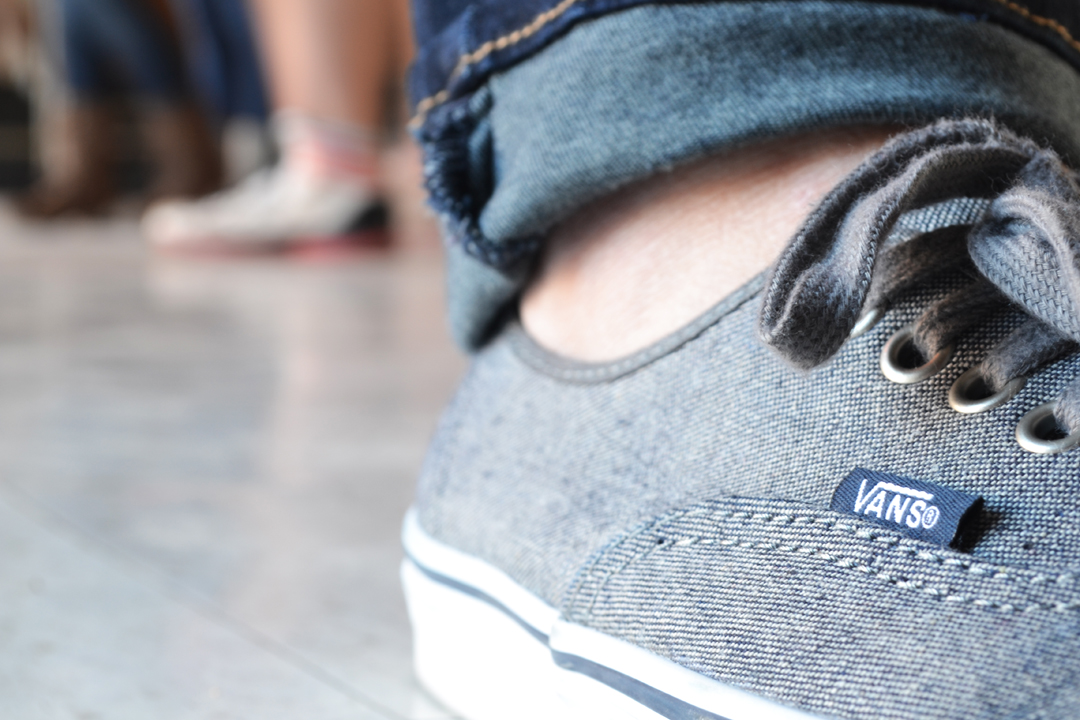
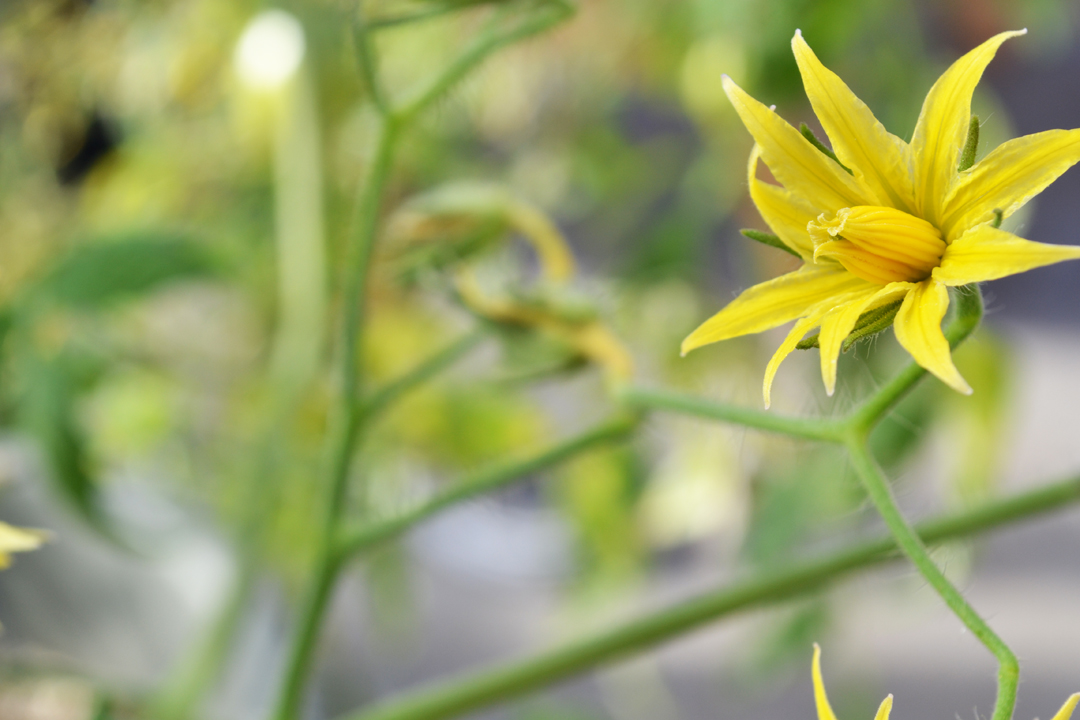
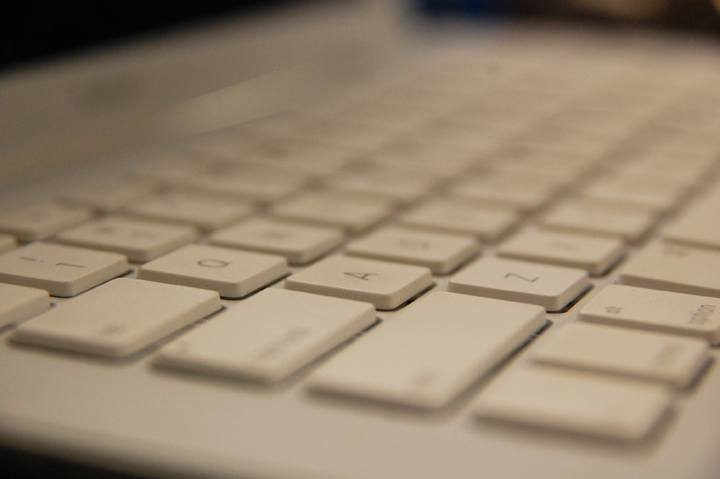
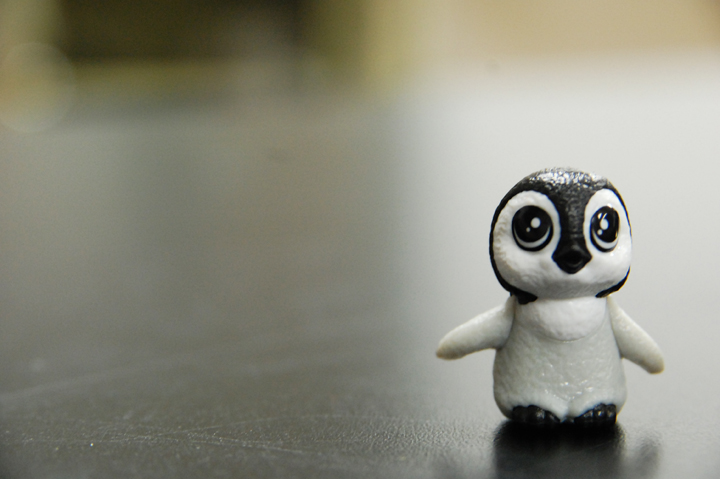
Depth of Field: In the first two pictures I used a more shallow depth of field than my others, which was created with a large exposure. The photo I think came out best is the one of the keyboard because I think it's the most interesting. You would want to use a shallow depth in field in a situation where you need to include more things in the photograph. If you were shooting something up close, you would use a larger aperature/larger depth of field like I did in the photo with the penguin.
Depth of Field: In the first two pictures I used a more shallow depth of field than my others, which was created with a large exposure. The photo I think came out best is the one of the keyboard because I think it's the most interesting. You would want to use a shallow depth in field in a situation where you need to include more things in the photograph. If you were shooting something up close, you would use a larger aperature/larger depth of field like I did in the photo with the penguin.
